Creating a professional document often requires special formatting that can feel a bit tricky at first. One of the most common tasks is learning how to set up a Hanging Indent Google Docs. Whether you are working on a school project, a college research paper, or a business report, getting your citations to look right is very important. A hanging indent is when the first line of your paragraph starts at the left margin, but every line after that is pushed inward. This style makes your list of sources much easier for people to read quickly. It helps the author’s name stand out so that readers can find the right information without any struggle.
Google Docs is a wonderful tool because it makes these formatting changes very simple once you know where to look. You do not need to be a computer genius to master the hanging indent google docs. In fact, it only takes a few clicks of your mouse or a quick shortcut on your keyboard. In this guide, we will walk through every single step to ensure your document looks polished and meets all the official rules. We will cover using the ruler tool, the menu bar, and even how to handle things on your mobile phone. Let’s dive in and make your writing look amazing today!
The Basics of Hanging Indent Google Docs
Before we start clicking buttons, let’s talk about why we use a Hanging Indent Google Docs. Most teachers and professors ask for this specific look when you are writing a bibliography or a Works Cited page. If you are using MLA, APA, or Chicago style, this format is usually a strict requirement. It prevents your list of books and websites from looking like one giant wall of text. By indenting the second and third lines, you create a visual gap that acts like a signpost for the reader’s eyes. It is all about making your hard work look organized and professional for your audience.
Detailed Formatting Information
| Feature | Formatting Detail |
|---|---|
| Feature Name | Hanging Indent |
| Standard Offset | 0.5 inches (1.27 cm) |
| Common Use Cases | APA, MLA, Chicago Style, Bibliographies |
| Primary Tool | Ruler and Indent Markers |
| Menu Path | Format > Align & Indent > Indentation options |
| Compatibility | Web Browser, iOS, and Android |
How to Use the Ruler for a Hanging Indent Google Docs
The fastest way to create a Hanging Indent Google Docs is by using the ruler located at the top of your screen. If you do not see a ruler, simply go to the “View” menu and click “Show ruler.” You will see a blue bar and a blue triangle sitting on the left side. The triangle is the Left Indent marker, and the small bar above it is the First Line Indent marker. To start, highlight the text you want to change. Then, drag the blue triangle to the right, usually to the 0.5-inch mark. This moves the whole paragraph over. Finally, drag just the small blue bar back to the 0.0 margin.
Using the Format Menu for Precision
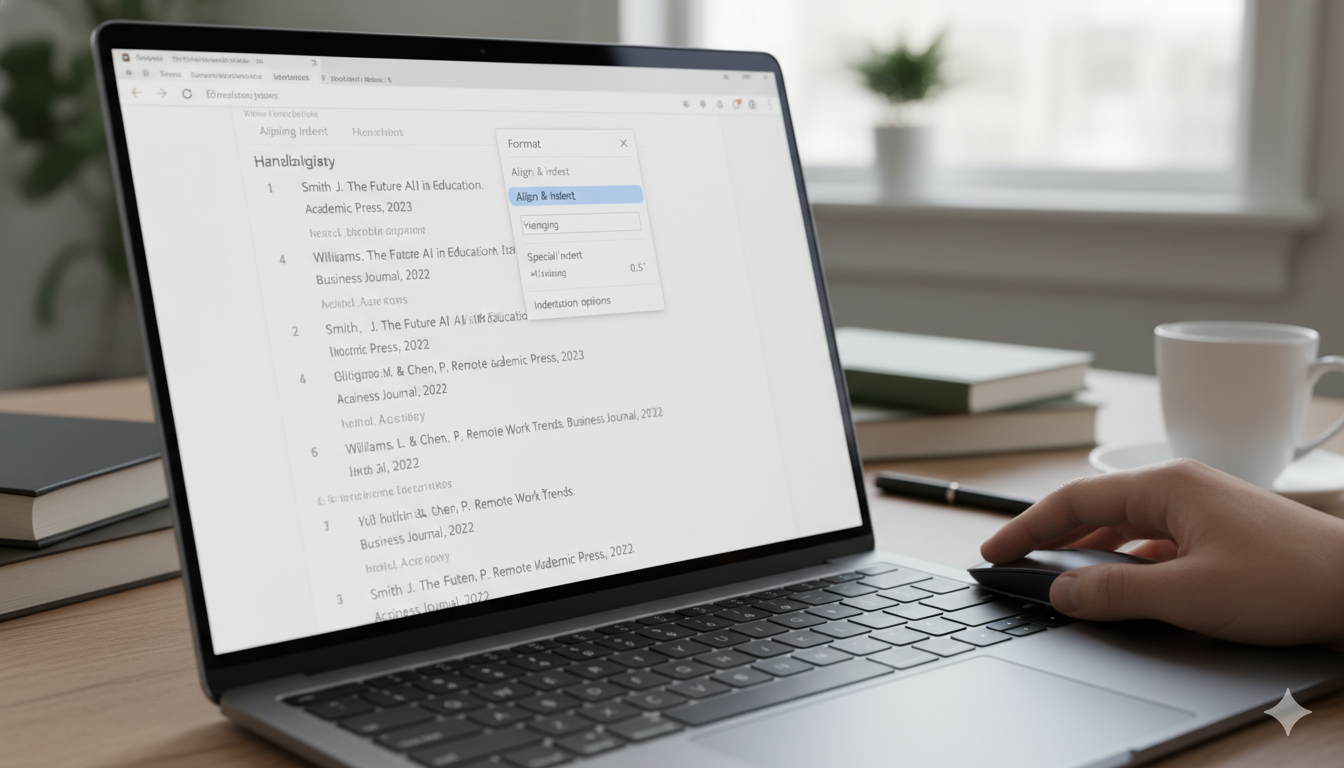
If dragging small icons feels a bit clumsy, you can use the menu for a hanging indent google docs. First, highlight your citations with your cursor. Click on the “Format” tab at the very top of your page. Next, hover over “Align & indent” and select “Indentation options” at the bottom of that list. A small box will pop up on your screen. Look for the dropdown menu labeled “Special indent” and choose “Hanging.” You can even type in the exact number of inches you want. Most people leave it at 0.5 inches. Click “Apply,” and your text will snap into the perfect shape instantly.
Why Formatting Matters for Your Grades
You might wonder if a hanging indent google docs is really that important for your schoolwork. The truth is that following formatting rules shows your teacher that you pay attention to details. It proves that you respect the academic standards of your school. When a paper is messy, it can be hard for a teacher to focus on your great ideas. By using a hanging indent google docs, you make your bibliography look clean and official. This small step can actually help you get better grades because it makes your work much more readable and professional.
Creating Citations the Easy Way
Writing citations can be a long process, but a hanging indent google docs makes the final step easy. Many students use online tools to create their citations, and then they paste them into Google Docs. Sometimes, the formatting gets lost when you copy and paste. If your citations look flat and boring, just use the “Indentation options” we discussed earlier. It is a good habit to fix your indents as soon as you add a new source. This way, you won’t have a giant pile of formatting work to do at the end of your project when you are tired.
How to Apply Indents to Multiple Paragraphs
What if you have a very long list of sources and need a hanging indent google docs for all of them? You do not have to do them one by one! That would take way too much time. Instead, use your mouse to highlight every single citation in your list at once. Once they are all selected, go to the Format menu and apply the hanging indent settings. Google Docs will apply the change to every paragraph you highlighted perfectly. This trick saves you a lot of energy and ensures that every entry looks exactly the same, which is key for a great paper.
Common Mistakes to Avoid with Indents
One big mistake people make when trying to create a hanging indent google docs is using the “Tab” key or the “Space” bar. If you try to press enter and then tab on the second line, it might look okay at first. However, if you change the font size or add a word later, the whole thing will break and look messy. Never use the space bar to create an indent! It is always better to use the official ruler or menu tools. This ensures that your hanging indent google docs stays perfect even if you edit your document many times later on.
Setting Up Your Default Styles
Did you know you can tell Google Docs to always remember your favorite settings? While you can’t easily make a hanging indent google docs a default for every single line, you can save a “Style.” If you have a specific way you like your bibliographies to look, you can highlight a perfect example. Then, go to the “Normal text” styles menu and look for options to save it. This is a bit more advanced, but it is very helpful for people who write research papers every week. It keeps your work consistent across all your different files and folders.
Fixing Ruler Issues in Google Docs
Sometimes the ruler for a hanging indent google docs can be a bit finicky. If the blue markers are not moving where you want them to go, try zooming in on your page. Using a higher zoom level makes it easier to grab the tiny blue bar without grabbing the triangle by mistake. Also, make sure you have “Print Layout” turned on in the “View” menu. If you are in a different view mode, the ruler might disappear or act strangely. Once the ruler is visible and easy to see, setting your hanging indent google docs becomes a very quick and simple task.
Working on a Mobile Device
If you are using a tablet or a phone, creating a hanging indent google docs is a little different. The mobile app does not have a ruler that you can drag with your finger. To fix this, you usually need to use the “Paragraph” formatting icon, which looks like an “A” with some lines. Inside that menu, you can often find indentation settings. However, many experts suggest doing your final formatting on a laptop or desktop computer. It is much easier to see the details of a hanging indent google docs on a bigger screen where you have more control.
Final Touches for a Perfect Bibliography
After you have set up your hanging indent google docs, take a moment to look at the whole page. Make sure your lines are double-spaced if that is what your teacher asked for. Check that your list is in alphabetical order starting with the author’s last name. A perfect hanging indent google docs is just one part of a great reference page. When you combine correct indents with the right spacing and order, your document will look like it was made by a professional writer. You should feel very proud of how clean and organized your work looks!
Frequently Asked Questions
Can I use a keyboard shortcut for a hanging indent? Currently, there is no single keyboard button for a hanging indent google docs. The best way is to use the Format menu or the ruler markers.
Why did my whole paragraph move instead of just the second line? This happens if you move the blue triangle and the blue bar together. To get a hanging indent google docs, you must move the bar back to the left margin.
Does a hanging indent work for bullet points? Bullet points have their own indentation rules. A hanging indent google docs is usually reserved for plain text paragraphs like citations in a bibliography.
How do I get rid of a hanging indent? If you change your mind, highlight the text and go to Format > Align & Indent > Indentation options. Set the special indent to “None” to reset it.
Is a hanging indent the same as a first-line indent? No, they are opposites! A first-line indent pushes the first line in, while a hanging indent google docs pushes every line except the first one in.
Will my hanging indent show up if I download the file as a PDF? Yes! When you create a hanging indent google docs and save it as a PDF, the formatting stays exactly the same for anyone who opens the file.
Conclusion: You Are Now a Formatting Pro!
Learning how to master the hanging indent google docs is a skill that will serve you well for many years. It is one of those small details that makes a massive difference in the quality of your documents. Now that you know how to use the ruler tool and the format menu, you can handle any bibliography with total confidence. Remember to always highlight your text first and double-check your measurements. If you ever get stuck, just come back to this guide and follow the steps again. Your papers are going to look better than ever before!
Why not try it out right now? Open a blank document, paste a long sentence, and practice using the ruler to create a hanging indent google docs. Once you do it a couple of times, it will become second nature. Good luck with your writing, and enjoy your beautifully formatted documents!